The Best Fluffy Pancakes recipe you will fall in love with. Full of tips and tricks to help you make the best pancakes.

You’ve probably tried cutting a t-shirt before and ended up with something that screamed “I did this in my bathroom with kitchen scissors.” That’s not a you problem — most cutting tutorials skip the details that separate a clean, boutique-looking result from a lopsided mess. The difference usually comes down to a few small things: where exactly you cut, how you finish the edge, and whether you take that extra thirty seconds to even things out.
These 10 cuts are the ones that consistently pass the “wait, did you buy that?” test. Each one is simple enough to finish in ten minutes, and every single one is designed to look intentional, not accidental.
1. The Knotted Crop
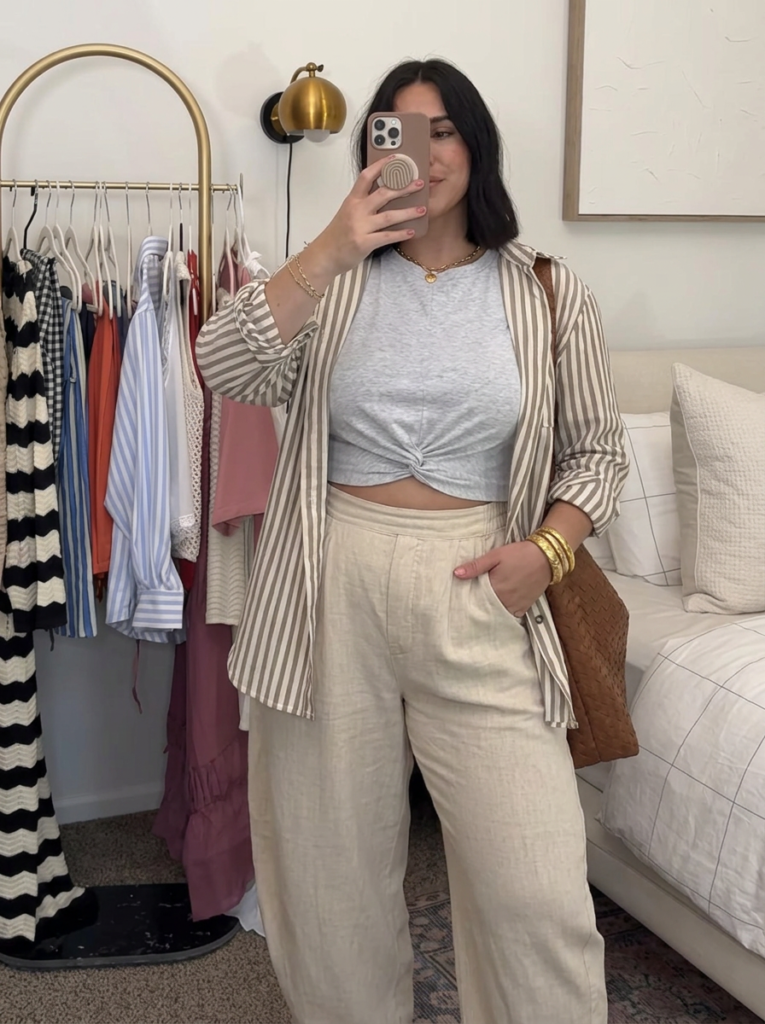
Cut the shirt straight across about three inches above the natural hem, then cut a small slit at the center front and thread the two new bottom corners through it before pulling snug. The knot does double duty — it shapes the crop at the waist and hides the raw cut edge at the same time, which is exactly the trick that makes this read as designed rather than DIY.
It is paired with high-waisted straight-leg jeans in a mid-wash blue denim, worn with the waistband sitting just above the knot detail so the two pieces meet cleanly. White low-top canvas sneakers with white laces complete the look, along with a thin gold chain necklace and small gold stud earrings.
2. The Side Twist
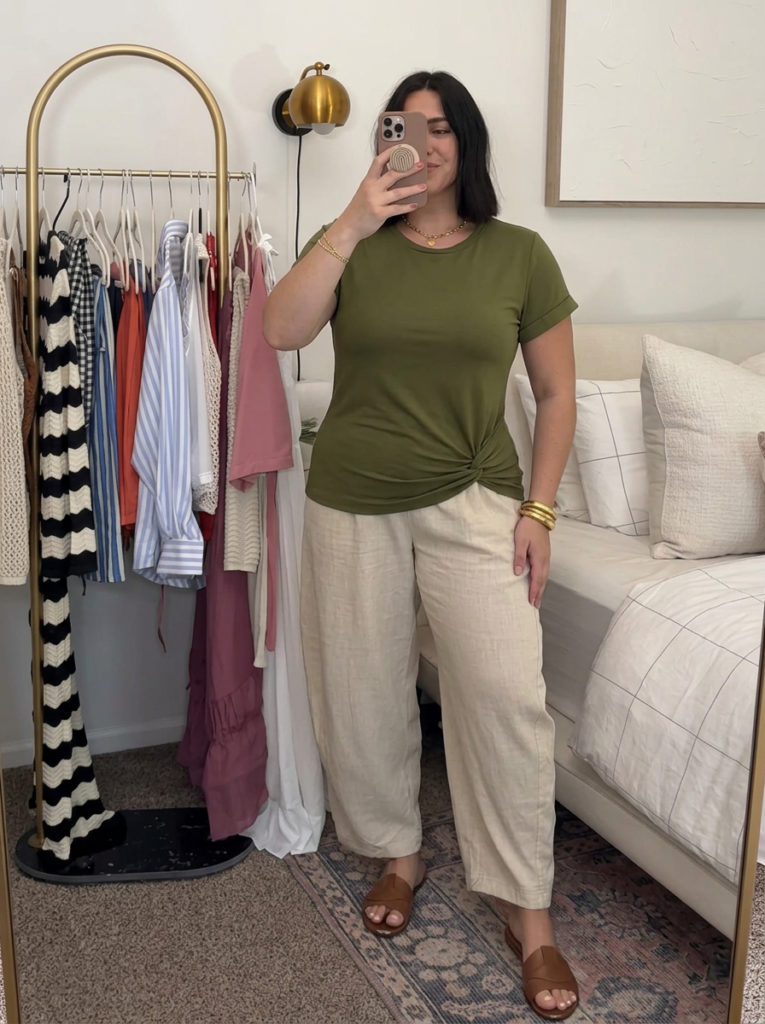
Cut two short vertical slits into one side seam near the hip, then twist the fabric between them and tuck the twisted section under the hem to secure it. It’s a small, contained detail — nothing flapping or fraying — which is exactly why it looks finished instead of half-done. This is the move for someone who wants a hint of shape without a big visible cutout.
The top is paired with high-waisted khaki cargo pants featuring a single visible side pocket, along with tan leather ankle boots. A woven brown leather belt with a small gold buckle sits at the waist, and a stack of thin silver bangles is worn on one wrist.
3. The Lattice Back
Cut a rectangular panel out of the back, then cut evenly spaced horizontal slits down both sides of the opening and weave a length of ribbon through them in a crisscross lattice pattern, tying it off at the top and bottom. It takes a few extra minutes to weave, but the payoff is a woven, corset-like detail that looks like it came from a proper pattern, not a pair of scissors.
It is styled with high-waisted faux leather leggings in matte black, along with pointed-toe black ankle boots featuring a low block heel. A delicate gold layered necklace is visible at the front neckline, and small gold hoop earrings complete the accessories.
4. The Wrap Shoulder
Cut one shoulder seam open, then cut a long strip from the extra sleeve fabric and wrap it around the open shoulder before tying it at the back in a small knot. The wrapped strip covers the raw edge entirely, so there’s no fraying visible anywhere — just a clean, styled asymmetrical shoulder that looks like a design choice.
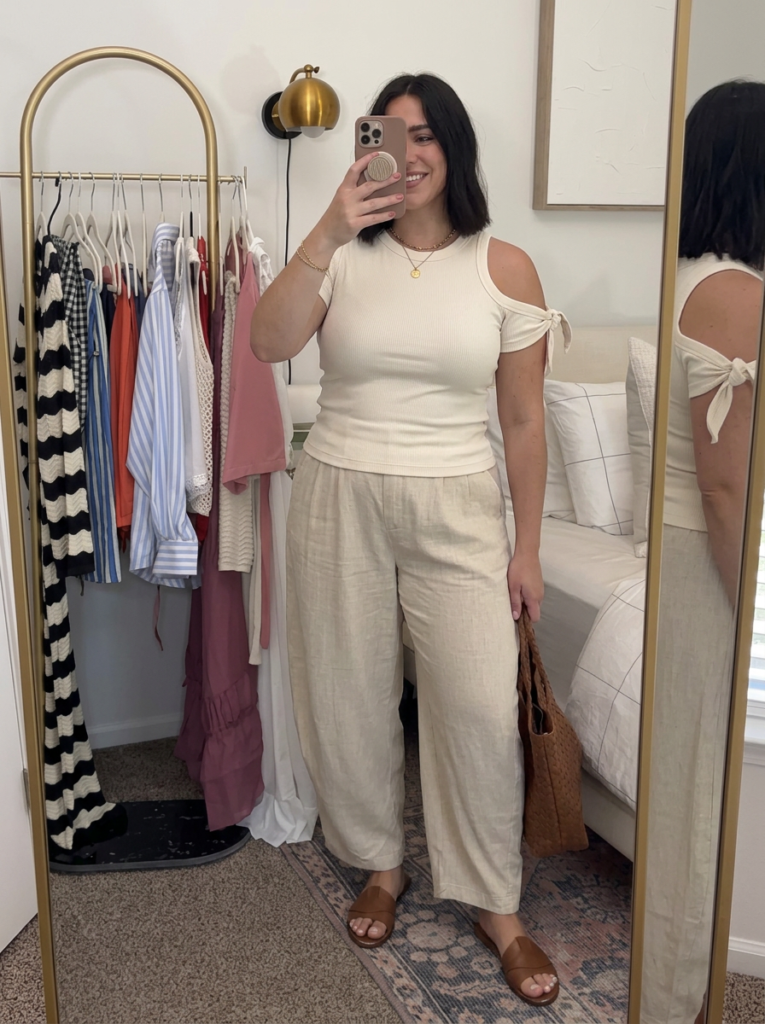
The top is paired with high-waisted wide-leg linen trousers in a soft beige tone, along with tan strappy flat sandals. A woven straw tote bag with tan leather handles and small gold hoop earrings round out the outfit.
5. The Shoulder Tie Cutout
Cut a small oval opening at the top of each shoulder, then cut two thin strips from scrap fabric and tie a tiny bow through each opening. The bows frame the cutouts and stop them from looking like accidental holes, giving the whole thing a finished, almost ribbon-trim quality.
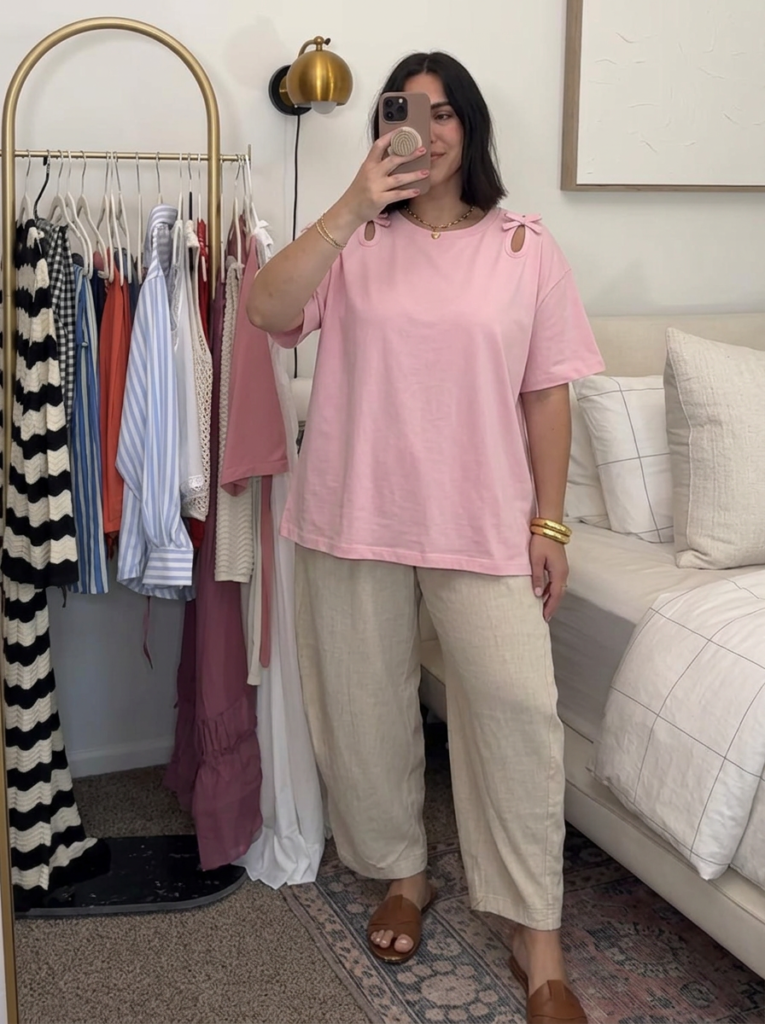
It is paired with high-waisted white denim shorts with a frayed hem, along with white slip-on sneakers. A thin gold anklet is visible, along with small pearl stud earrings and a light pink hair claw clip.
6. The Scoop and Cinch
Cut a wide, deep scoop out of the front neckline, then cut a thin strip from the extra sleeve fabric and thread it through small slits along the new neckline edge to create a drawstring effect, cinching it slightly at the center. The drawstring detail turns a simple scoop cut into something that looks like an actual neckline design rather than a shirt with a chunk missing.
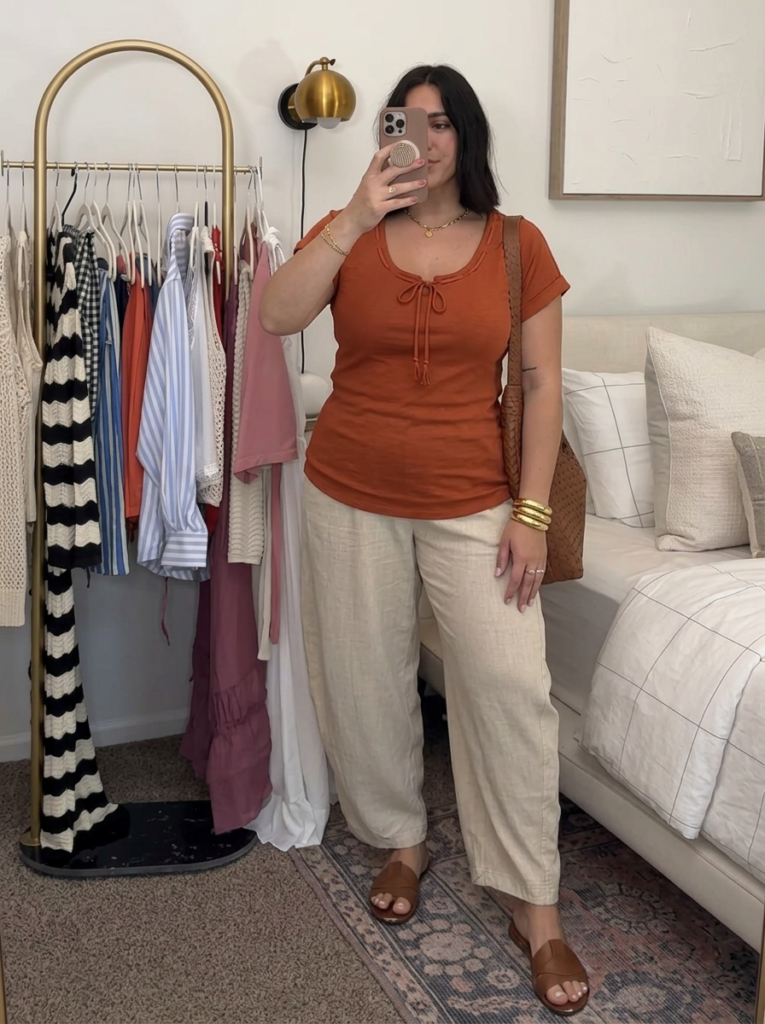
The top is styled with high-waisted wide-leg corduroy pants in a warm camel color, along with brown suede loafers. A thin gold pendant necklace sits just above the scooped neckline, and small gold hoop earrings complete the look.
7. The Side Lace-Up
Cut a series of small evenly spaced slits down both side seams from underarm to hip, then lace a length of cord or ribbon through them like a shoe, tying it off at the bottom. The even spacing is what sells it — measure roughly before you cut so the lacing sits symmetrically on both sides.
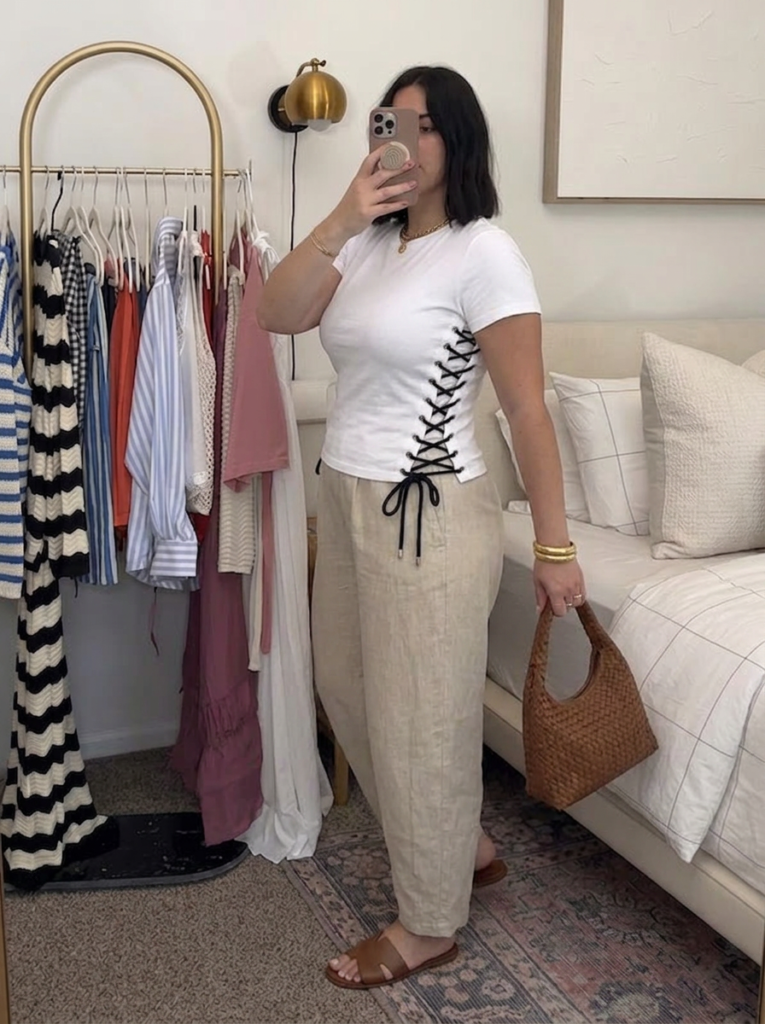
It is paired with high-waisted black denim jeans and black leather combat boots with silver eyelets. A black leather crossbody bag with a thin adjustable strap and small silver hoop earrings finish the outfit.
8. The Front Knot Duo
Cut two short vertical slits at the front hem, spaced a few inches apart, then thread and knot the fabric through each one separately to create two small gathered knots side by side. Two symmetrical knots read more like a deliberate design detail than one single knot might, especially on a wider or boxier tee.
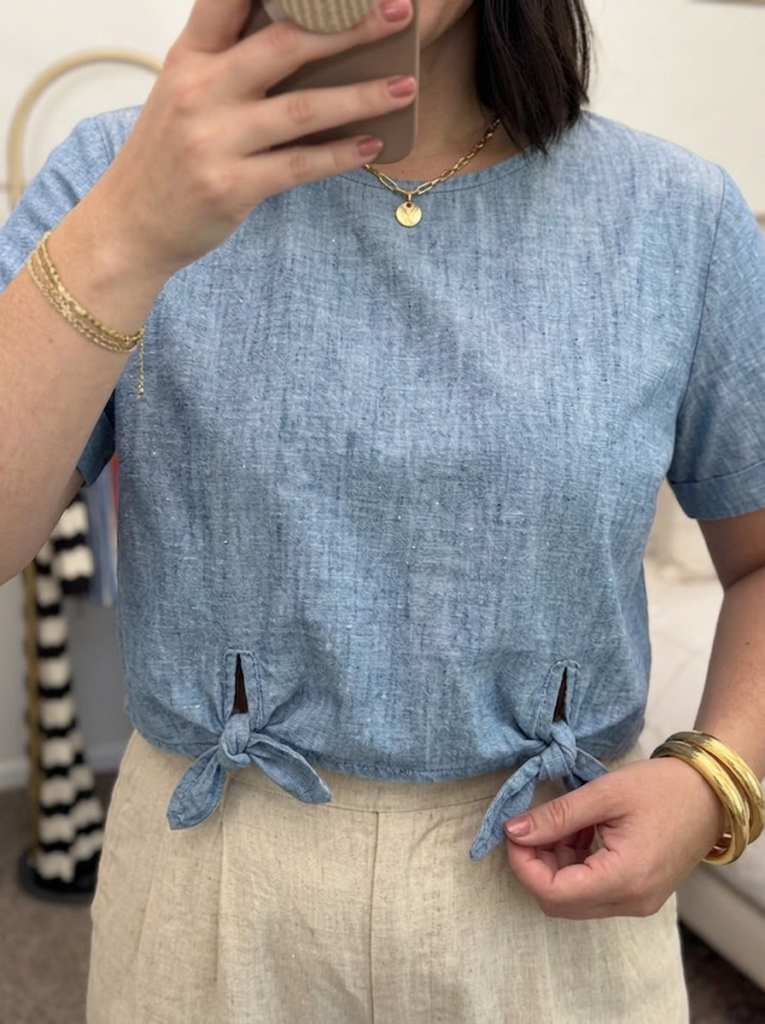
The top is paired with high-waisted white wide-leg trousers, along with tan block-heel sandals. A woven raffia belt bag worn crossbody and small gold hoop earrings complete the styling.
9. The Button-Look Back Slit
Cut a single vertical slit down the center back of the shirt from the neckline to about six inches down, then hand-stitch or hot-glue three small flat buttons along one edge of the slit for a faux button-placket look. It only takes a couple of extra minutes, but the buttons are what make this look like a designed back detail instead of a cut.
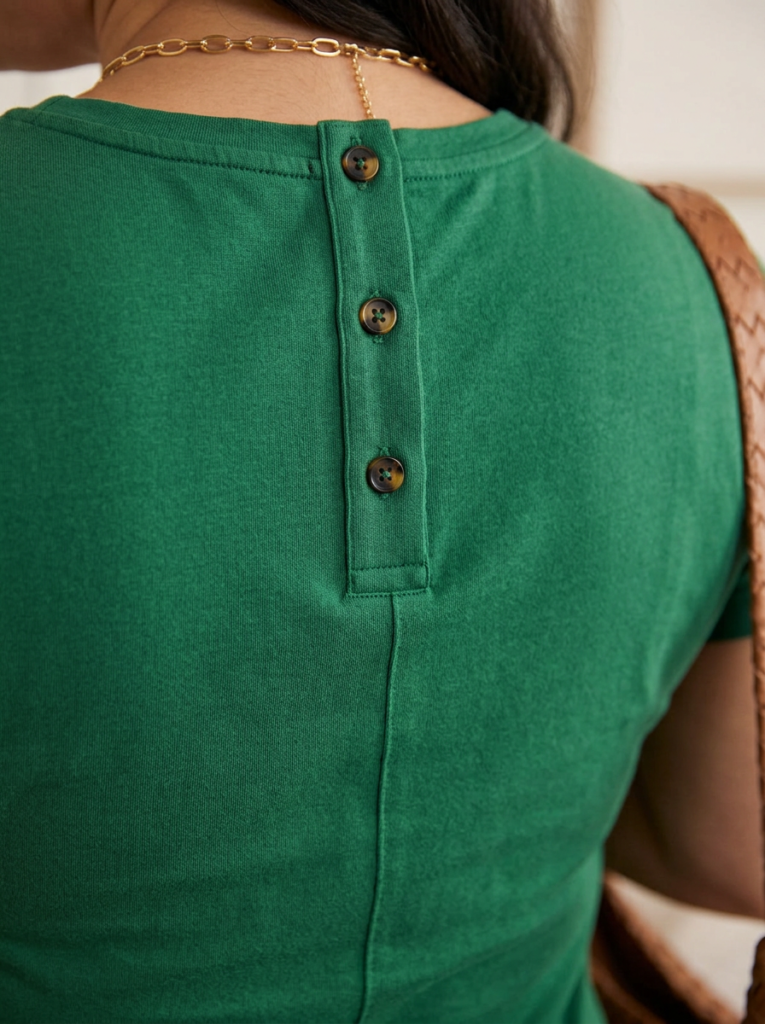
It is styled with high-waisted black trousers in a straight-leg cut, along with black leather loafers. A thin gold watch and small gold stud earrings complete the look, along with a structured black handbag with a short top handle.
10. The Fringe Crop with Clean Cap
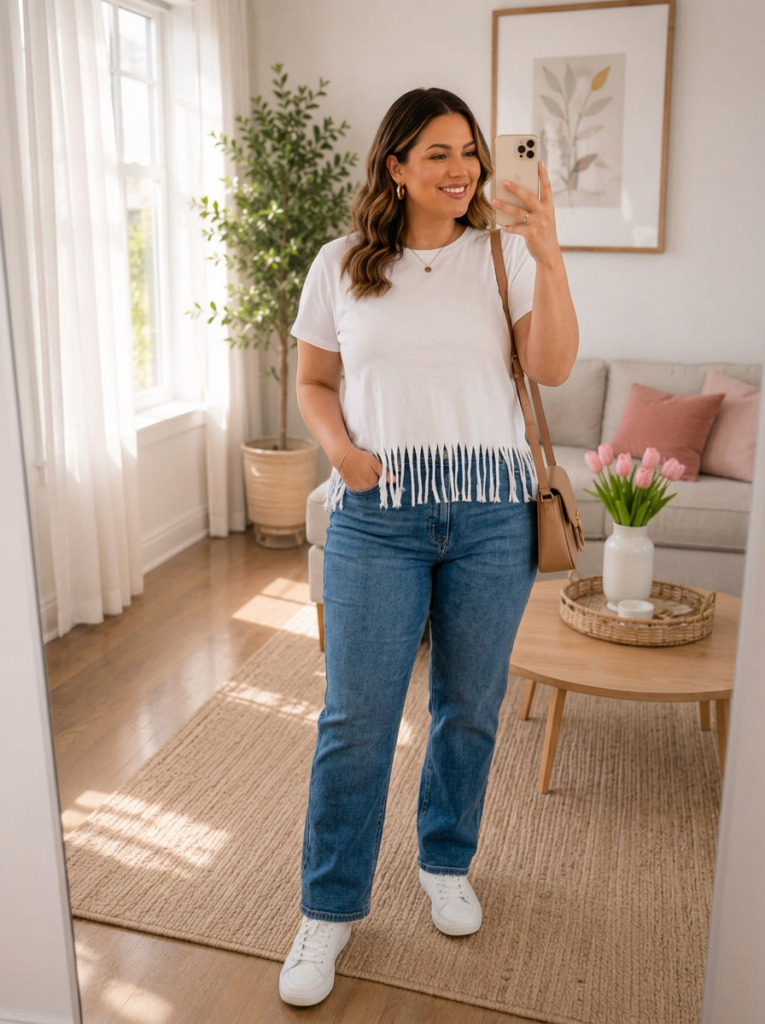
Cut the shirt into a crop first, then cut a straight strip of the leftover fabric and fold it over the new raw hem like a binding tape before fringing just the very bottom edge of that strip. The folded binding hides the main raw edge, so only the very tips are fringed, giving a much cleaner, more finished fringe than cutting straight into the shirt.
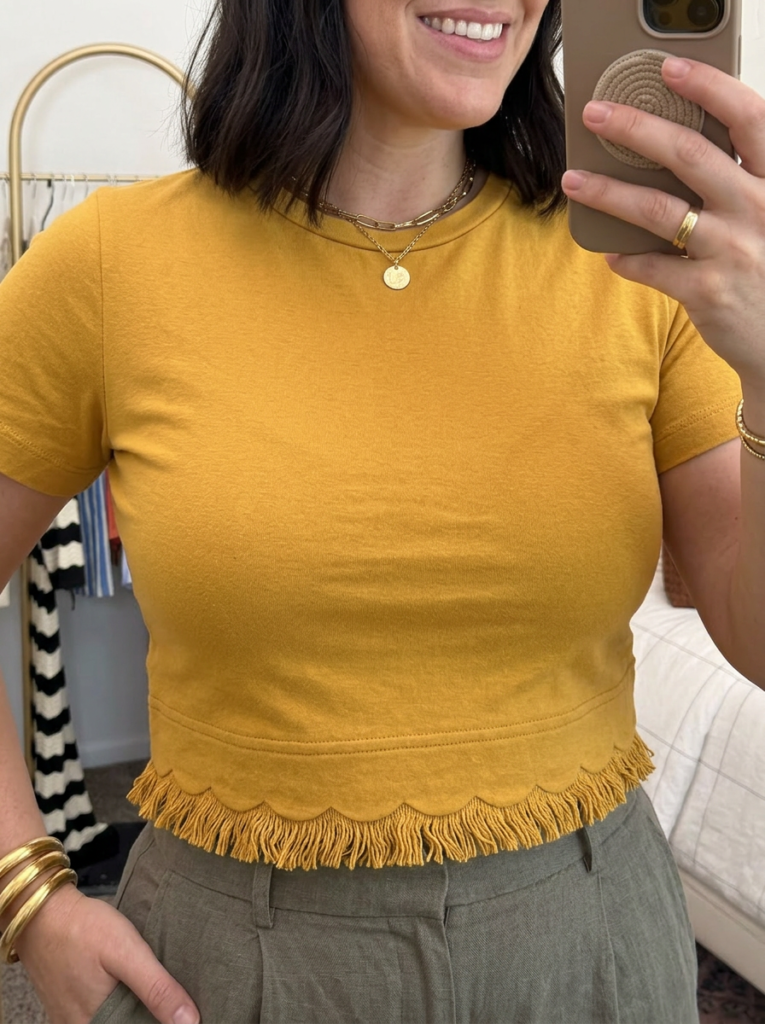
The top is paired with high-waisted wide-leg denim jeans in a light wash, along with brown suede ankle boots. A woven leather belt with a brass buckle and layered thin gold necklaces complete the outfit.
The thing every one of these cuts has in common is a finishing step — a knot, a fold, a lace-up, something that hides the raw edge instead of leaving it exposed. That’s the actual secret behind a shirt that looks store-bought: it’s never the cut itself, it’s what you do to it after.
Pick the one that matches a shirt you’re not scared to mess up, take your time on the finishing detail, and you’ll have something in your closet you’d genuinely believe you paid for.